How to Remove Audio from a Video on iPhone

Sometimes, you may want to remove audio from a video before sharing it. You can use the Photos app to remove audio from a video on an iPhone.
There may come a time when you want to share a video with someone but don’t care about its audio. In that instance, you can remove audio from a video on your iPhone before you share or use it on your device.
The good news is that you don’t need to use a video editing app like iMovie to do it. Instead, you can use the Photos app to remove audio from a video. Removing the audio from a video is helpful if you want to share it or use it on your phone sound-free.
So, in this guide, we’ll show you the steps for removing audio from a video and even how to revert the video to include its original audio.
Remove Audio from Video on Your iPhone
If you want to remove the distracting audio from a video on an iPhone, the process couldn’t be more straightforward. Even after removing the audio, you can revert it so the original audio plays the next time you view or share the video from your iPhone.
To Remove Audio from a Video on iPhone
- Tap to open the Photos app on your iPhone or iPad.

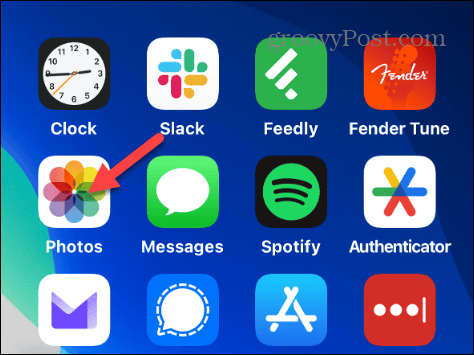
- Select the video from which you want to remove the audio.


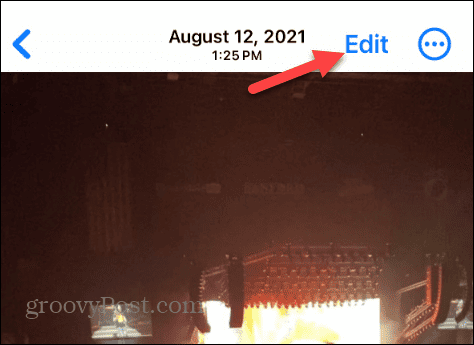
- When the video opens, don’t play it. Instead, tap the Edit button in the top right corner.

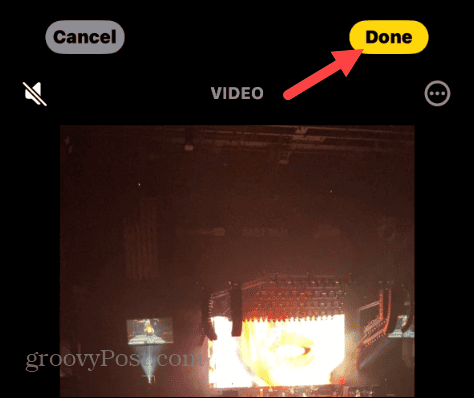
- Next, tap the speaker icon in the top left corner of the screen so there’s a line through it. Note that this isn’t a typical mute indicator; instead, it removes the audio track from the video file.


- Perform any other edits to the video you want. When you are ready, tap the Done button in the top right corner of the screen.

- Now, when you play the video file, no audio will be present.


- It’s also worth noting that if you share the video file, it won’t have any audio when the recipient plays it. There will be no audio, regardless of what mechanism you use to share it. Tap the Share button at the bottom of the screen.

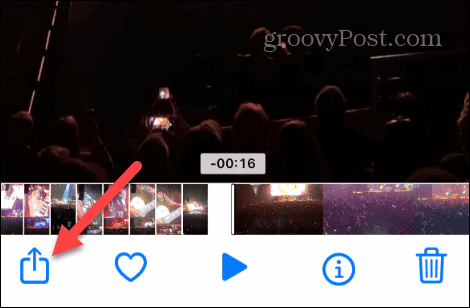
- Choose the app you want to use to share the video sans audio.

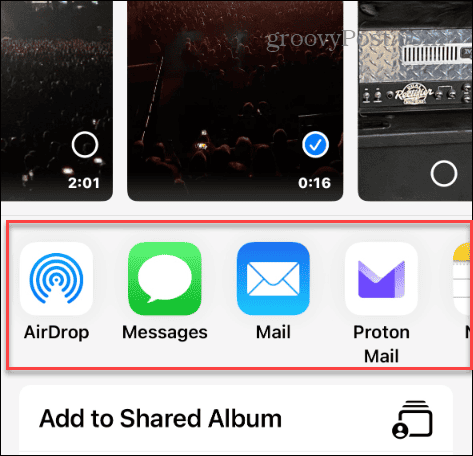
- Once the recipient receives the edited video file, it will not play with audio.
Add Original Audio Back to Video File
If you want to restore the audio from the video file you removed, you can because the Photos app saves the original. Undoing changes is a straightforward process.
To Restore Audio to Video File
- Launch the Photos app and select the video you removed the audio from.
- Tap the Edit button at the top right corner of the screen.

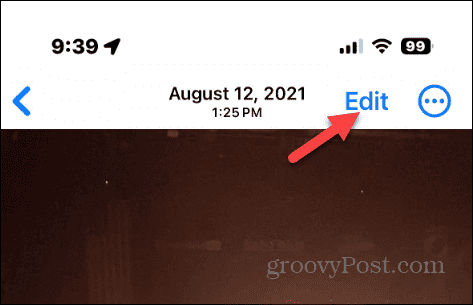
- If all you want to do is restore the audio, tap the speaker icon again. If you made other edits you’d like to reverse, select the Revert button in the top right corner of the screen.

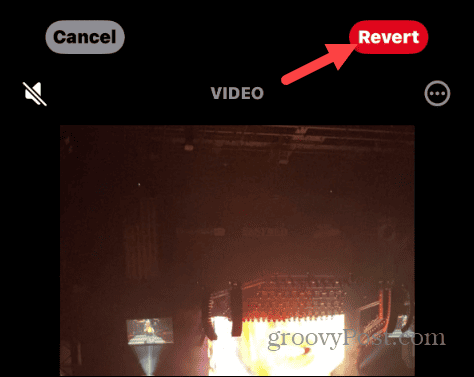
- Tap the Revert to Original button when the verification message appears at the bottom of the screen.

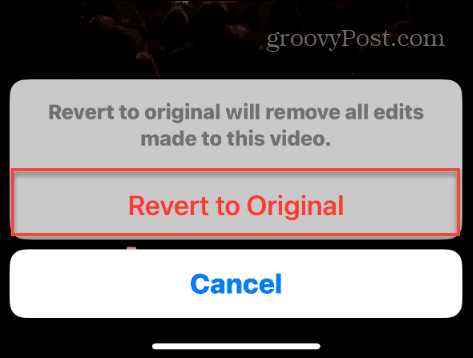
- That’s all there is to it. Once you revert the settings, audio will play in the video on your phone or if you share it with someone else.


Removing Audio from a Video on iPhone
Whatever the reason you want to edit out the audio from a video on your iPhone, it is quick and easy to use the Photos app on your iPhone. Once the audio is removed, you can save a video without sound for later use.
When you take a video of a subject, an accompanying audio track may be distracting and take away from the video. Also, there could be privacy concerns based on the type of audio recorded within earshot of the microphone.
Luckily, the Photos app provides a quick way to silence the video before you share it or use it to show others on your phone.
Leave a Reply
Leave a Reply


