How to Flip an Image in Google Docs

Need to flip or mirror an image in Google Docs? You can use in-built tools to help you. This guide explains how.
If you’re trying to enhance your Google Docs document’s overall appearance and layout, you might want to consider manipulating your images. An easy way to manipulate an image is to flip or mirror the image to correct or change its appearance in your document.
However, flipping an image in Google Docs is not as straightforward as rotating or resizing it since it doesn’t include a direct flip option. To flip an image in Google Docs, follow the steps below.
How to Flip Images in Google Docs Using Drawing Tool
Google Docs don’t have a direct option to flip images in the document. However, you can use the Drawing tool to achieve this effect. The Drawing tool allows you to make minor changes to an image in Google Docs. Any changes you make are then reflected in the main document.
You can access the Drawing tool from within your Google Docs document.
Insert the Image into the Drawing Tool
To insert an image into the Drawing tool, follow these steps:
- Open your Google Docs document.
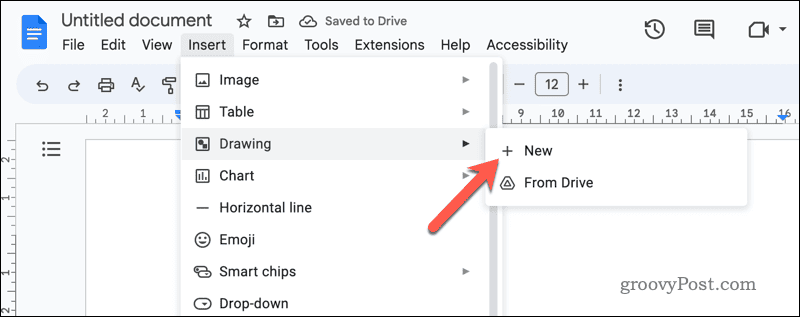
- Click on Insert in the menu bar.
- Select Drawing and then click New.

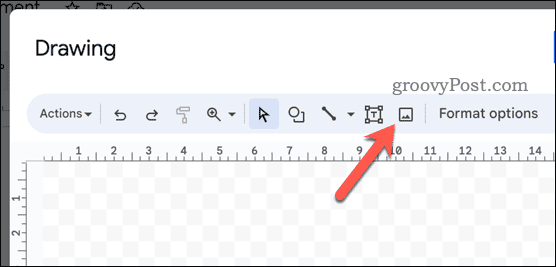
- In the Drawing window, press the Image icon to upload the image you want to flip.

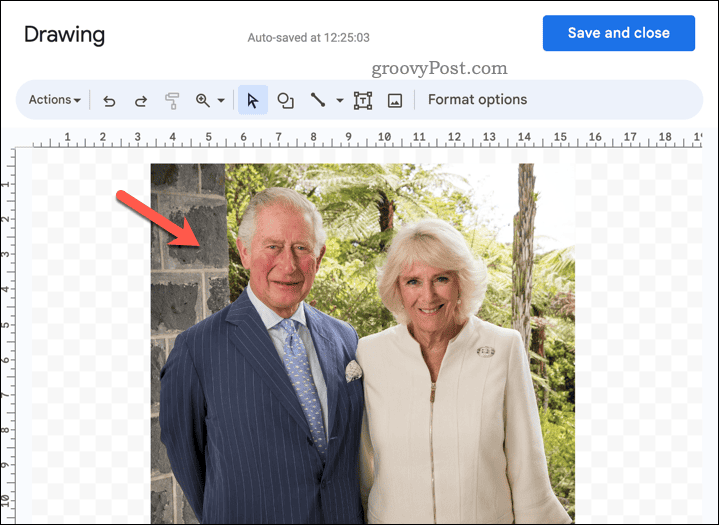
- Once inserted, adjust the image size and position as needed on the drawing canvas.
Flip the Image Horizontally and Vertically
After inserting the image with the Drawing tool, you can quickly flip it horizontally or vertically.
To flip an image, follow these steps:
- Click on the image to select it in the Google Docs Drawing tool.

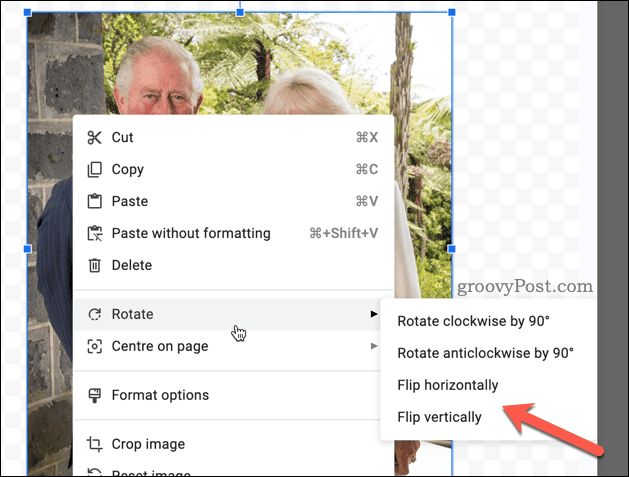
- Right-click on the image to open its options.
- Hover over the Rotate menu.
- Choose either Flip horizontally or Flip vertically to perform the desired action.

- Press the blue Save and Close button in the top-right corner of the Drawing window to save your changes.

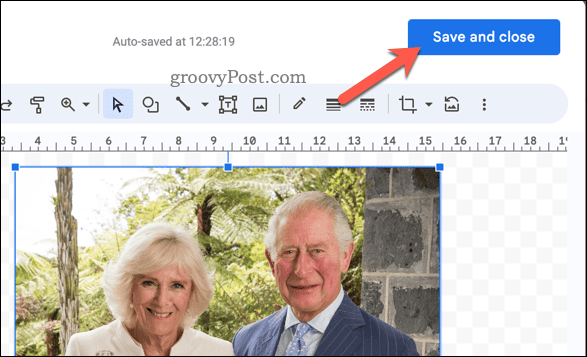
The flipped image will appear in your Google Docs document. You can resize or reposition the image by clicking and dragging its corners or edges.
How to Rotate an Image in Google Docs
In addition to flipping images in Google Docs, you can also make other adjustments to the position of the image, such as rotating the image.
To rotate an image, follow these steps:
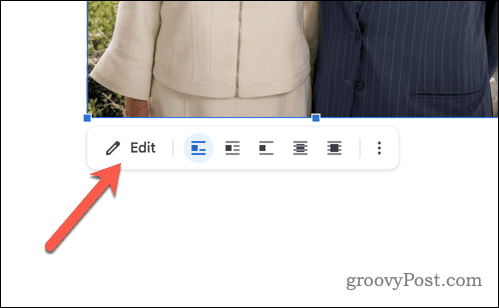
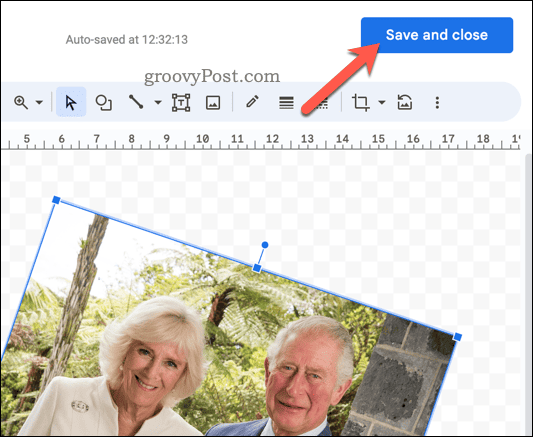
- Click on the image to select it, then select Edit to enter the Google Docs Drawing tool.

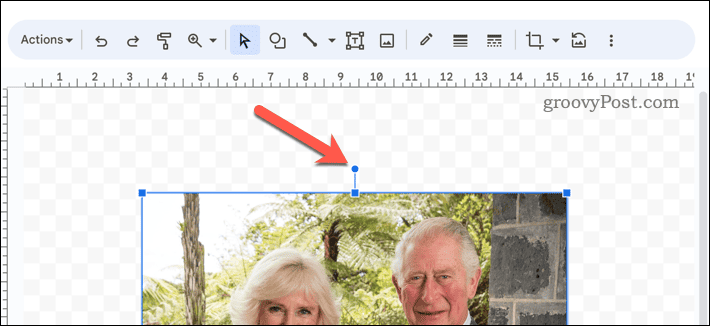
- Select the image in the Drawing tool, then locate the blue circle at the top of the picture.

- Click and hold the blue circle, then drag it to rotate the image as desired.

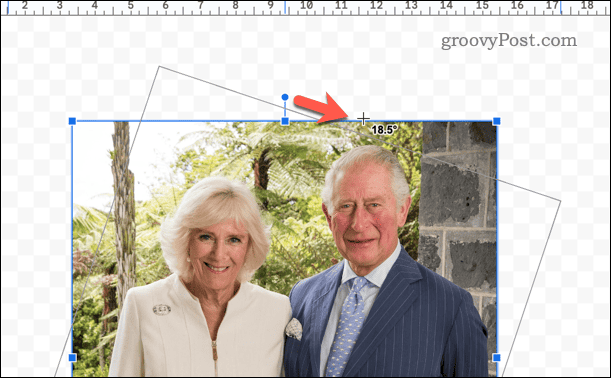
- Release the blue circle to set the new rotation angle.
- Press Save and Close to save your changes.

You can also use the toolbar to access more rotation options, such as rotating the image 90 degrees clockwise or counterclockwise. As you’re working in Google Docs, any changes you make will apply immediately.
Creating Dynamic Google Docs Documents
Using the steps above, you can quickly flip images in your Google Docs document. If you’re looking for other ways to improve your document, you may want to consider inserting videos into Google Docs to add a more interactive element to your pages.
Want to add essential data to your document? You can easily import Google Sheets data into Google Docs, maintaining the link so that any changes are reflected in both documents.
Need to make more advanced changes to your images? You’ll need to think about using a fully-featured image editing tool like GIMP or Photoshop instead.
Leave a Reply
Leave a Reply


